How to Make a Clay 100's Board for Your Homeschool

Learn how you can make your own Clay 100’s Board using Air-Dry Clay and Marbles! Pair your funky homemade creation with our Masterpiece Numbers Curriculum, now released in our shop!
I love creating crafts with the kids using air-dry clay, and over the holidays, I wanted to create our own counting manipulative’s out of clay for our homeschool math center, especially since I was writing our companion curriculum to The Masterpiece Alphabet, called The Masterpiece Numbers, which we recently released in our shop over the weekend!
I decided to pull out the clay and see if I could recreate a 100’s Chart.

I was inspired by my friend Melanie, @thisfrenchmom who shared all about a beautiful advent spiral she made from clay. It inspired me to try to make my own counting board out of clay, using marbles as the means to make the imprinting hole.
I have been seeing 100’s boards made out of hardwood being shared all around Instagram lately, and I just love them! They come pre-drilled and gorgeous. We haven’t invested in any yet, but this clay and marble project got me thinking, ‘maybe I could make our own.’
How to Make a Clay 100’s Board for Your Homeschool
supplies
air-dry clay
a regular-sized marble
a rolling pin
some newspaper
a bit of oil in a dixie cup
acrylic paint (I used a turquoise)
mod podge sealer
brushes
Steps:

Knead your clay until it is soft, then roll it out on your newspaper or any surface that it will not stick too.
Roll it out so it is 1/4 of an inch or thicker. (the thicker the better)
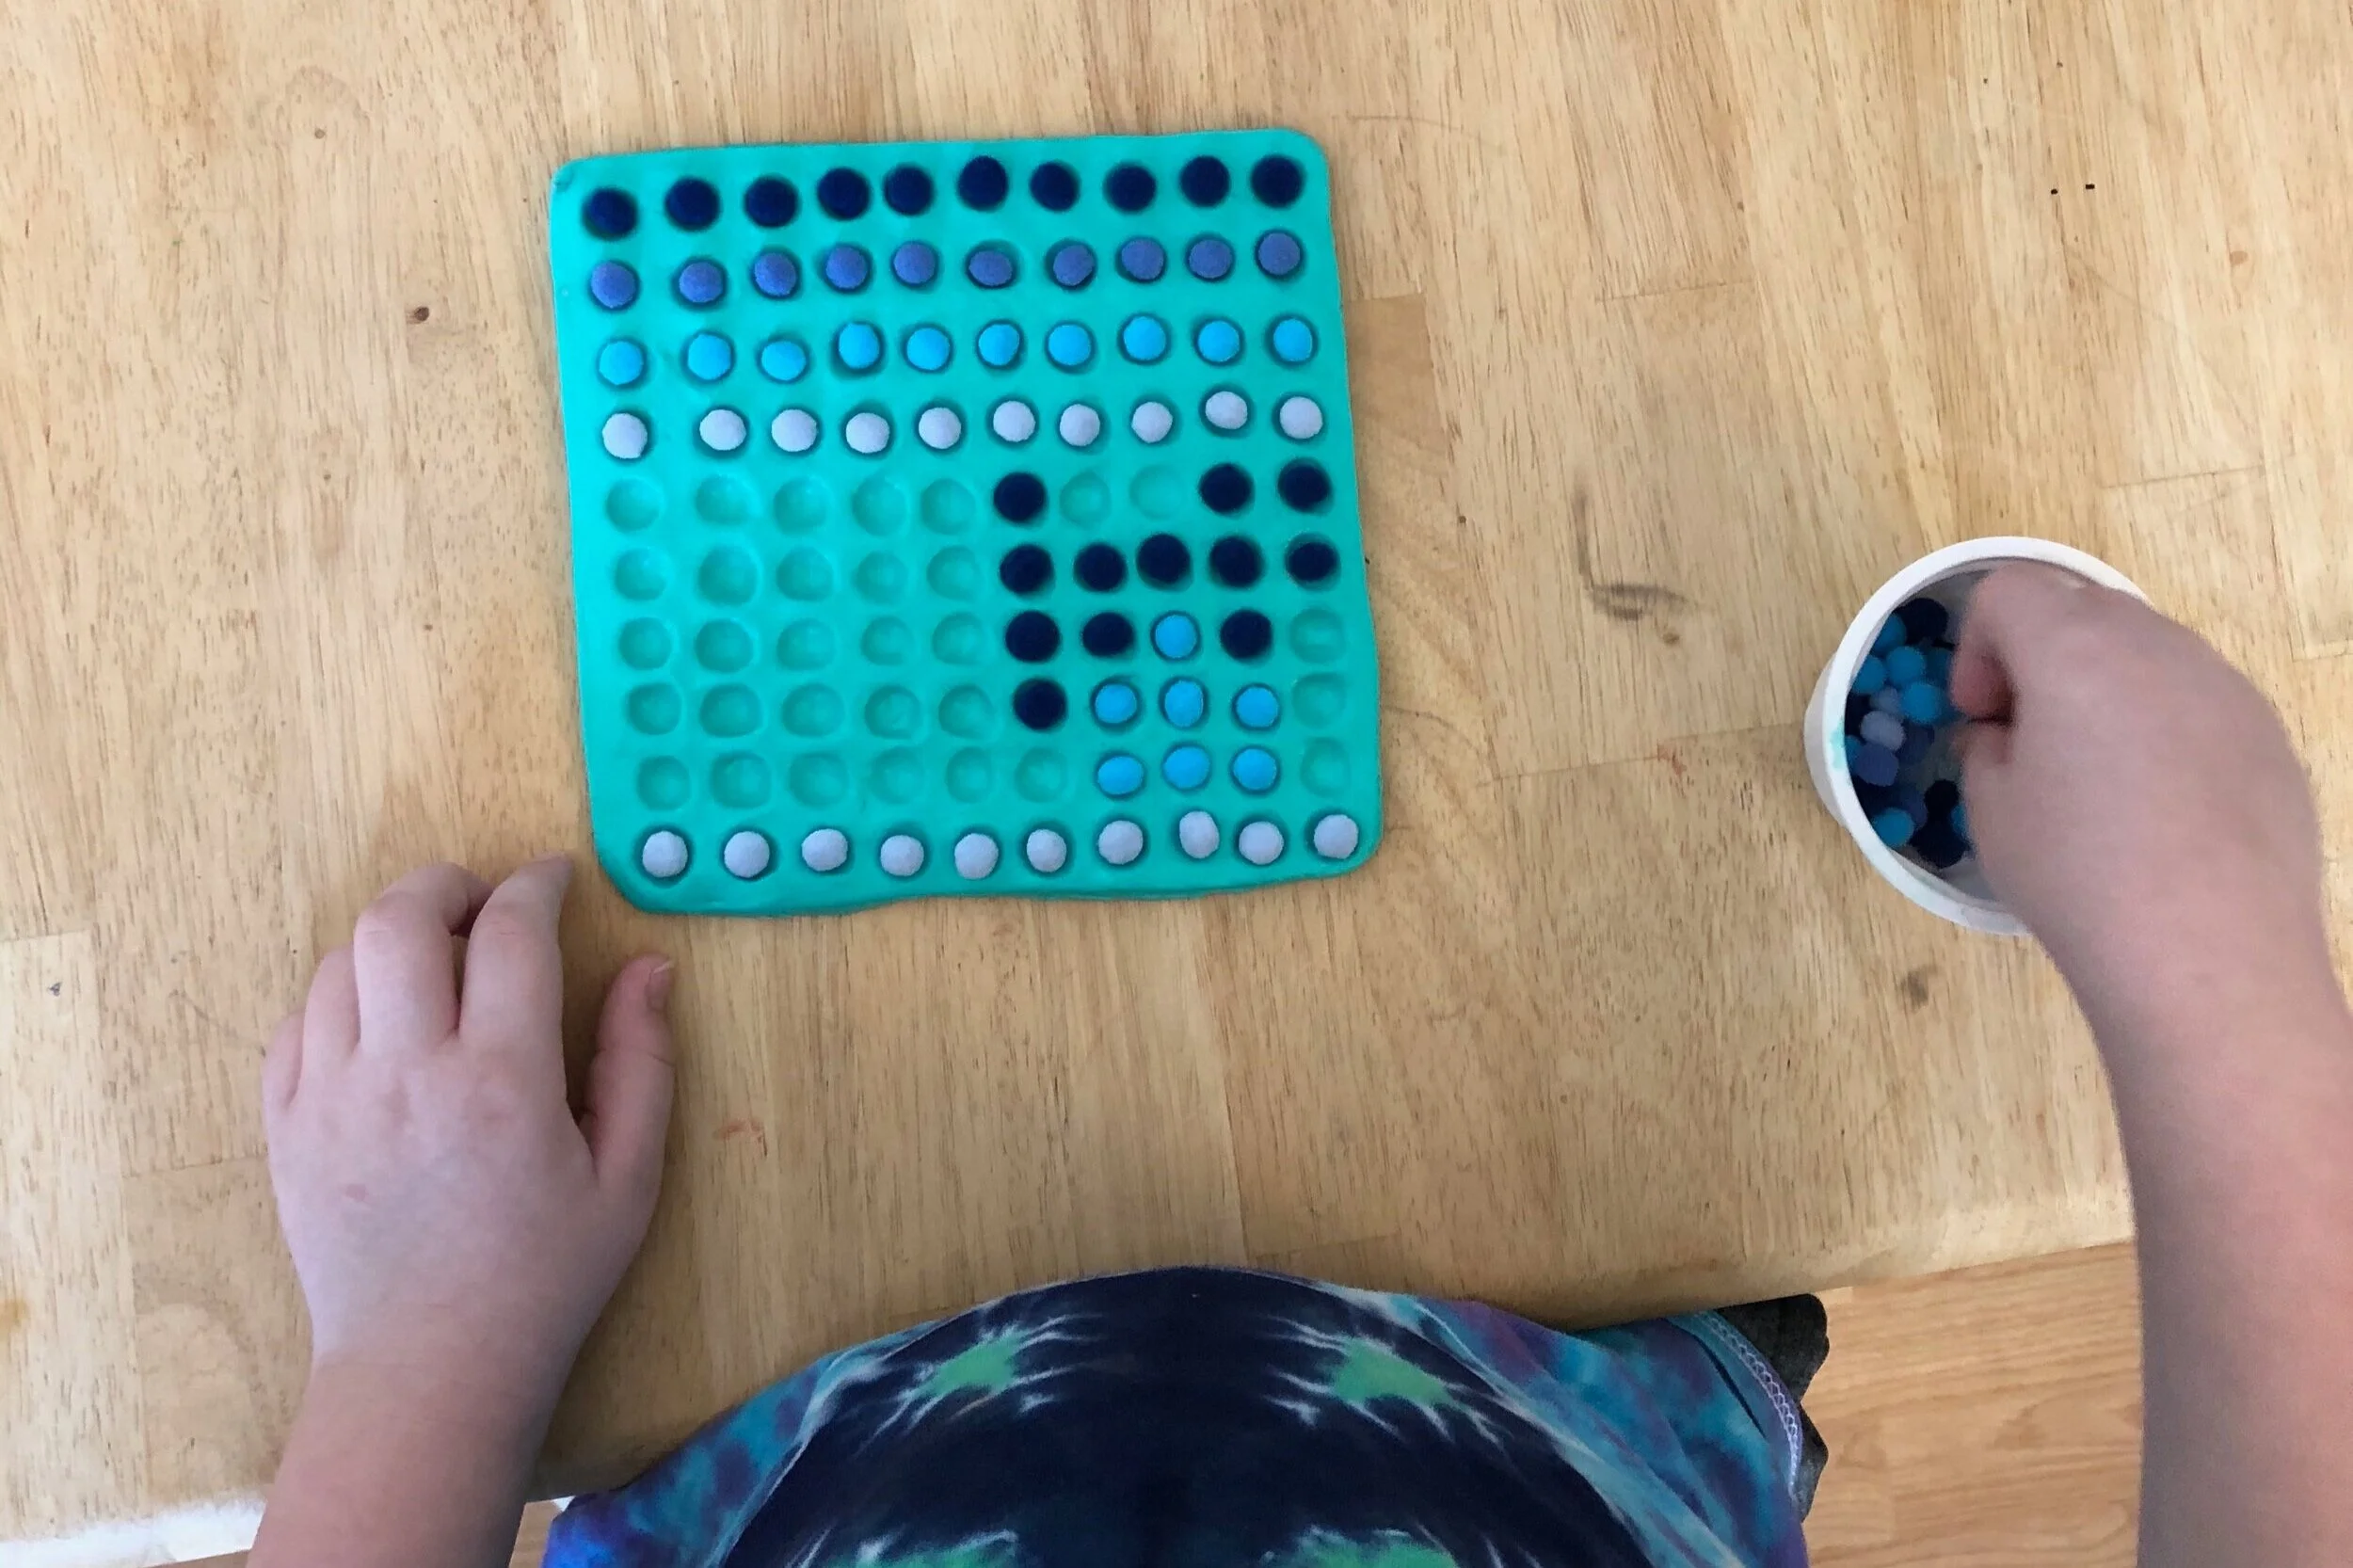
Using your marble, press into the clay 10 rows across, and 10 rows down, then continue to fill in the rest.
Using oil on the surface of your clay, and on your marble will help you press the marble into your clay, and help it to come out smoothly without sticking.
I kept the clay slab a very organic shape, and once all 100 holes we placed, I cut the edges, as straight as I could manage with what clay I had left. Doing it this way will help to ensure the space you need for all the holes. After all, you need 100!
Let your clay 100’s board dry in a safe place, for about 3 days. Once your clay slab is dry, you can begin to apply your desired paint color on to it. I would recommend at least 3 coats of paint. Allow drying completely between each coat, before sealing with at least 2-3 coats of mod podge.
Side Note*It is pretty delicate, and the thicker you have rolled out your clay, the more sturdy it will be, just keep in mind it will increase the clays drying time.

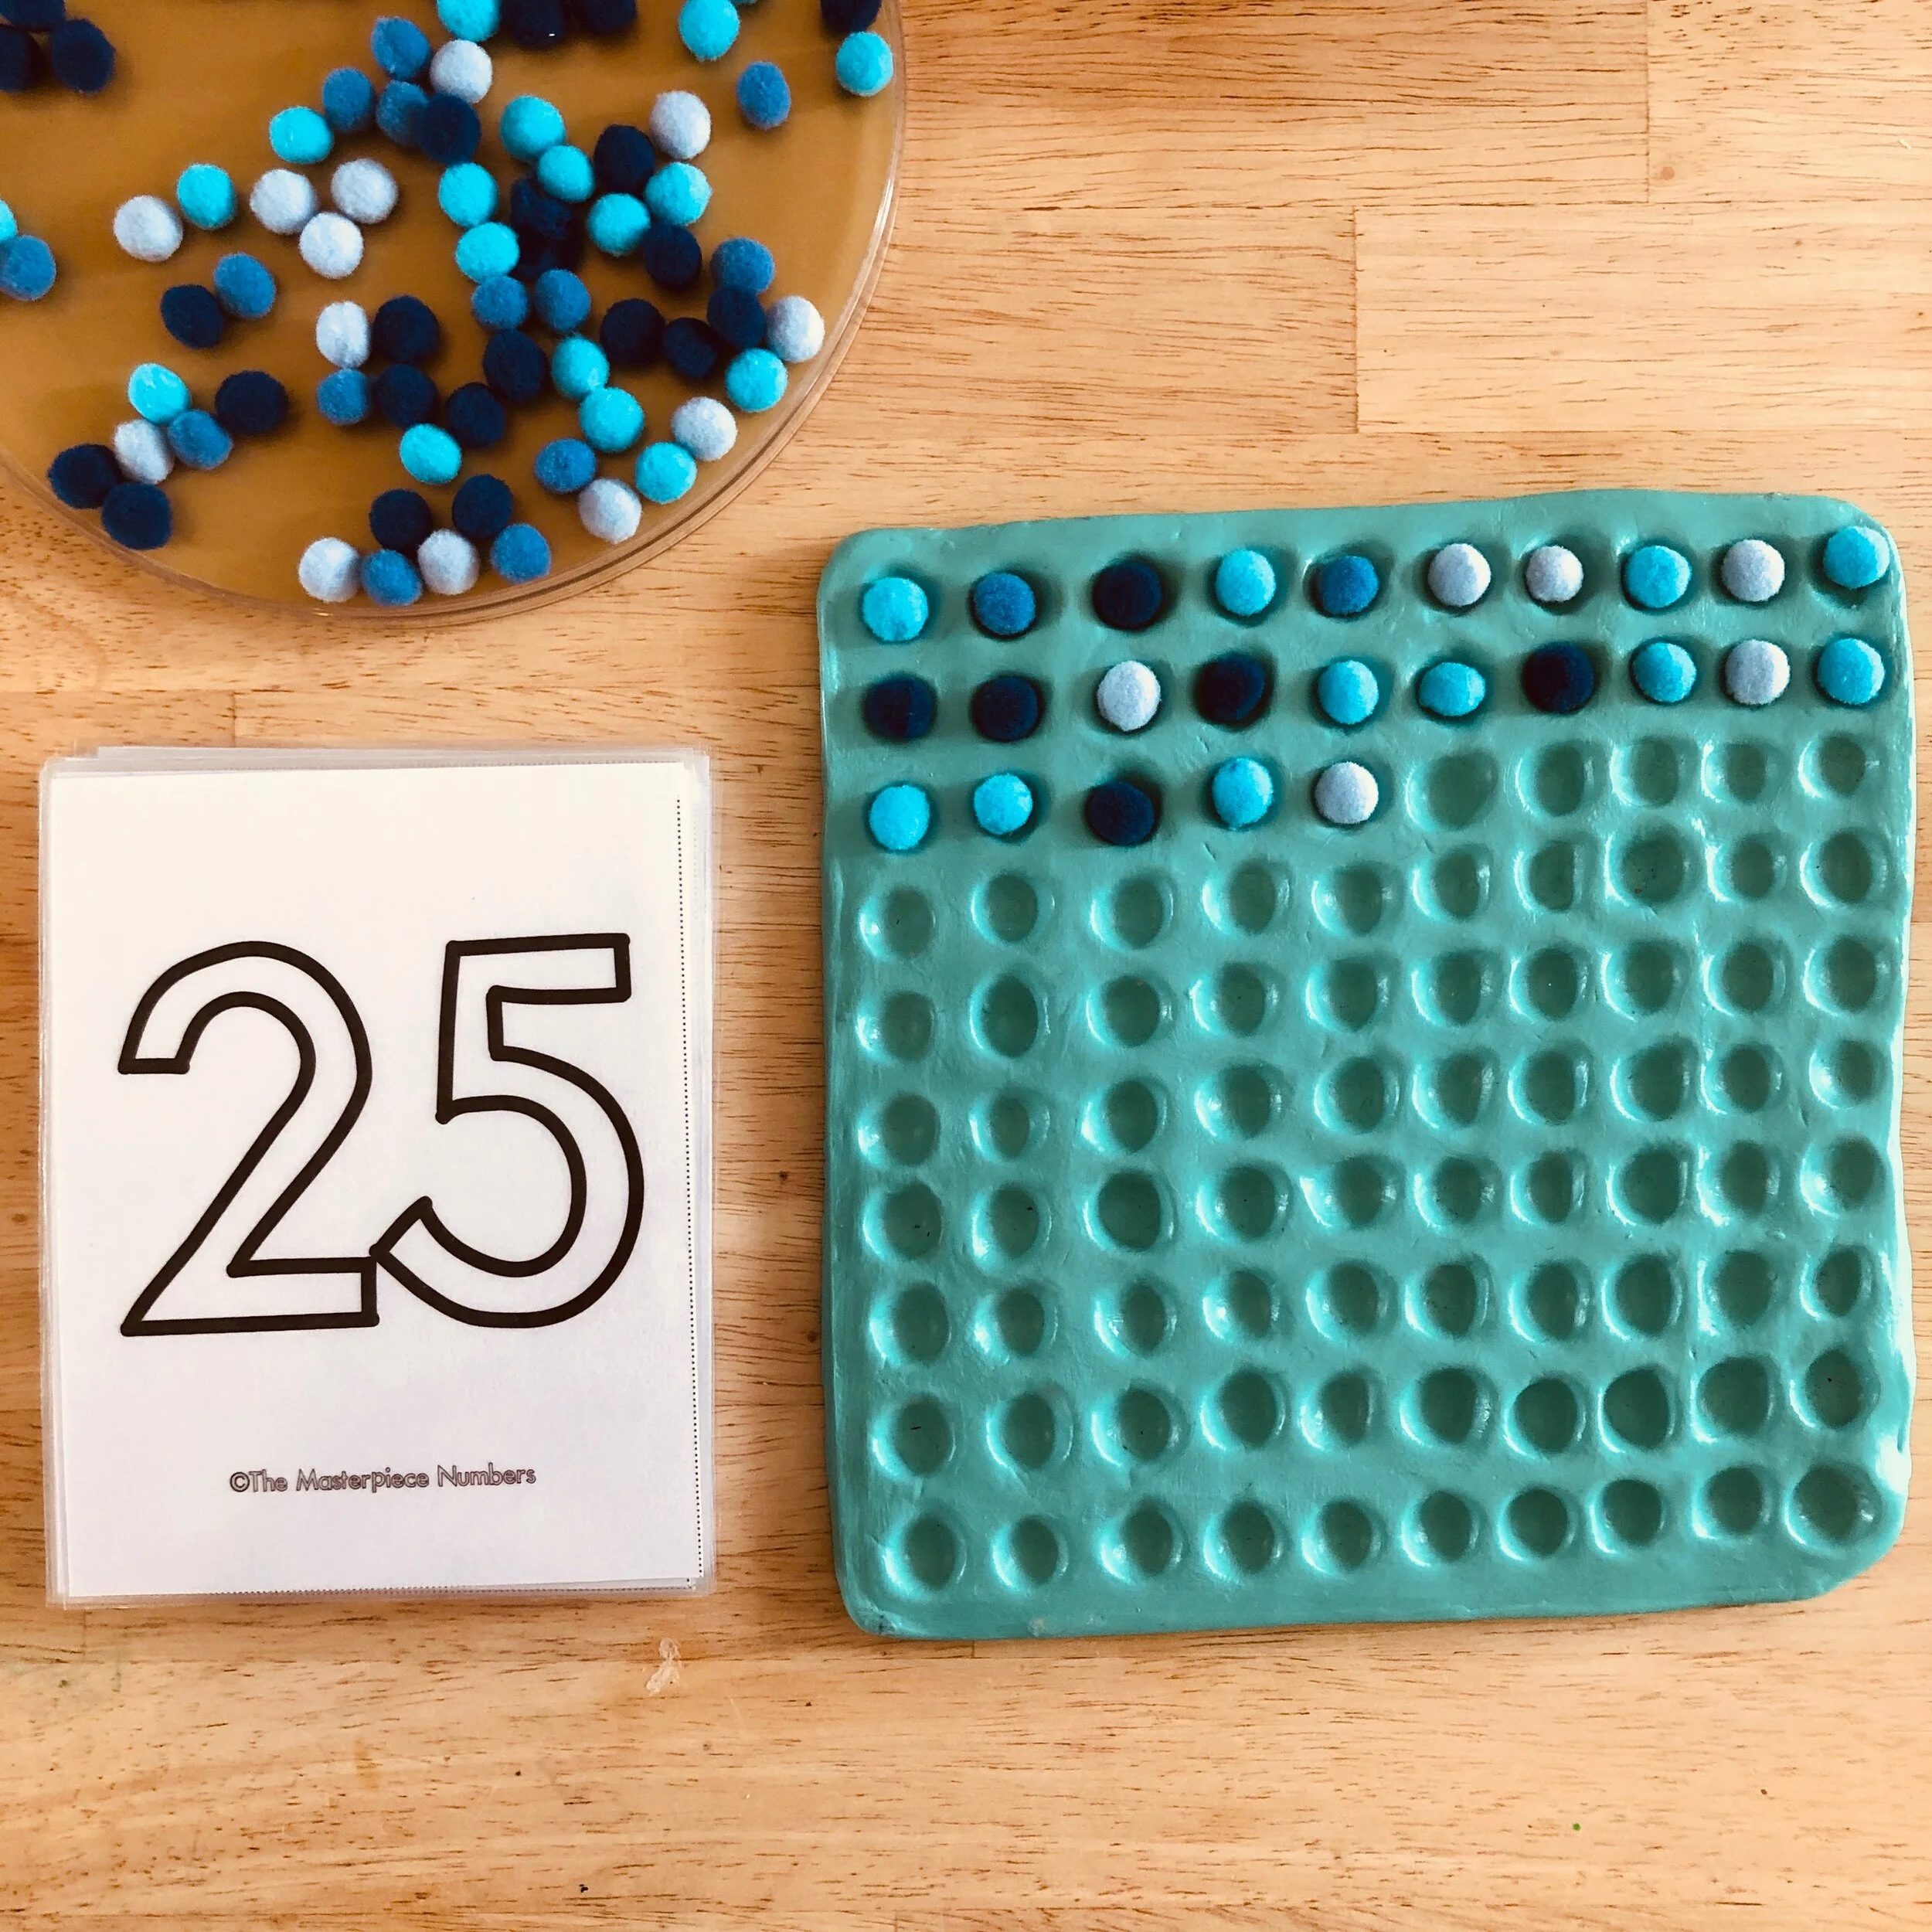
And there you go! Now have a funky, handmade 100’s board that can go perfectly with any math curriculum you are using, in your homeschool classroom! We have paired it with The Masterpiece Numbers flashcards and mini pom-poms!
Did you try to make this clay project? Please tag us on social media, so we can see it!
And don’t forget to come and visit our shop to find your next Creative Adventure with the Build Your Masterpiece Class, and Mix + Match it with our Masterpiece Alphabet and Masterpiece Numbers to put an Artsy Twist on your child’s ABC’s and 123’s!

Thanks for reading today! If you enjoyed this post, you may also like one of these:
Incorporating Math + Baking in the Homeschool with the Build Your Masterpiece Class
Keep Track of This Years Masterpieces with our Free Interactive Home Calendar