Setting up a Mud Kitchen in our Backyard for the Kids!
We have been Setting up a Mud Kitchen in Our Backyard for the Kids for them to play and create. Let me share with you what we have done so far!
Clay Time is our Favorite Time
Our kids love it, and so do I! Like when we made clay moons after reading Nonni's Moon by Julia Inserro, making clay fairies after reading The Knot Fairy by Bobbie Hinman, and the many many more projects that my son creates with his obsession with Fortnite and with the Build Your Masterpiece Class. You can image how many trips to the dollar store I make for clay.While doing some well-needed yard work, in preparation for our new trampoline, the kids got busy digging in the garden, in hopes of finding lost treasure!
We didn't hit gold, but we hit clay!
How exciting! I told them that what they found was really great, and I set to work with learning how to clean the clay for them to actually use it. I was inspired by many mud kitchen setups that I have been seeing on Instagram lately, and I thought maybe this could be a good time to try to set up something like that for our kids. Mr7 was really happy to find something he could use and was very excited to tell me all about how there was real clay in the earth, right in our yard.We grabbed some cheesecloth, our sand and water table and a watering can and got to work with the clay. It was mixed with a lot of black dirt, and the simplest way to clean it was to wrap our cheesecloth around a chunk of clay and dirt, and pour water over while squeezing the clay. We also found an old table hiding in our garage, that was given to us by our neighbor years ago. It needs a make over, but it works!
Setting Up a Mud Kitchen for Your kids:
Supplies Needed:
- clay or dirt from your yard
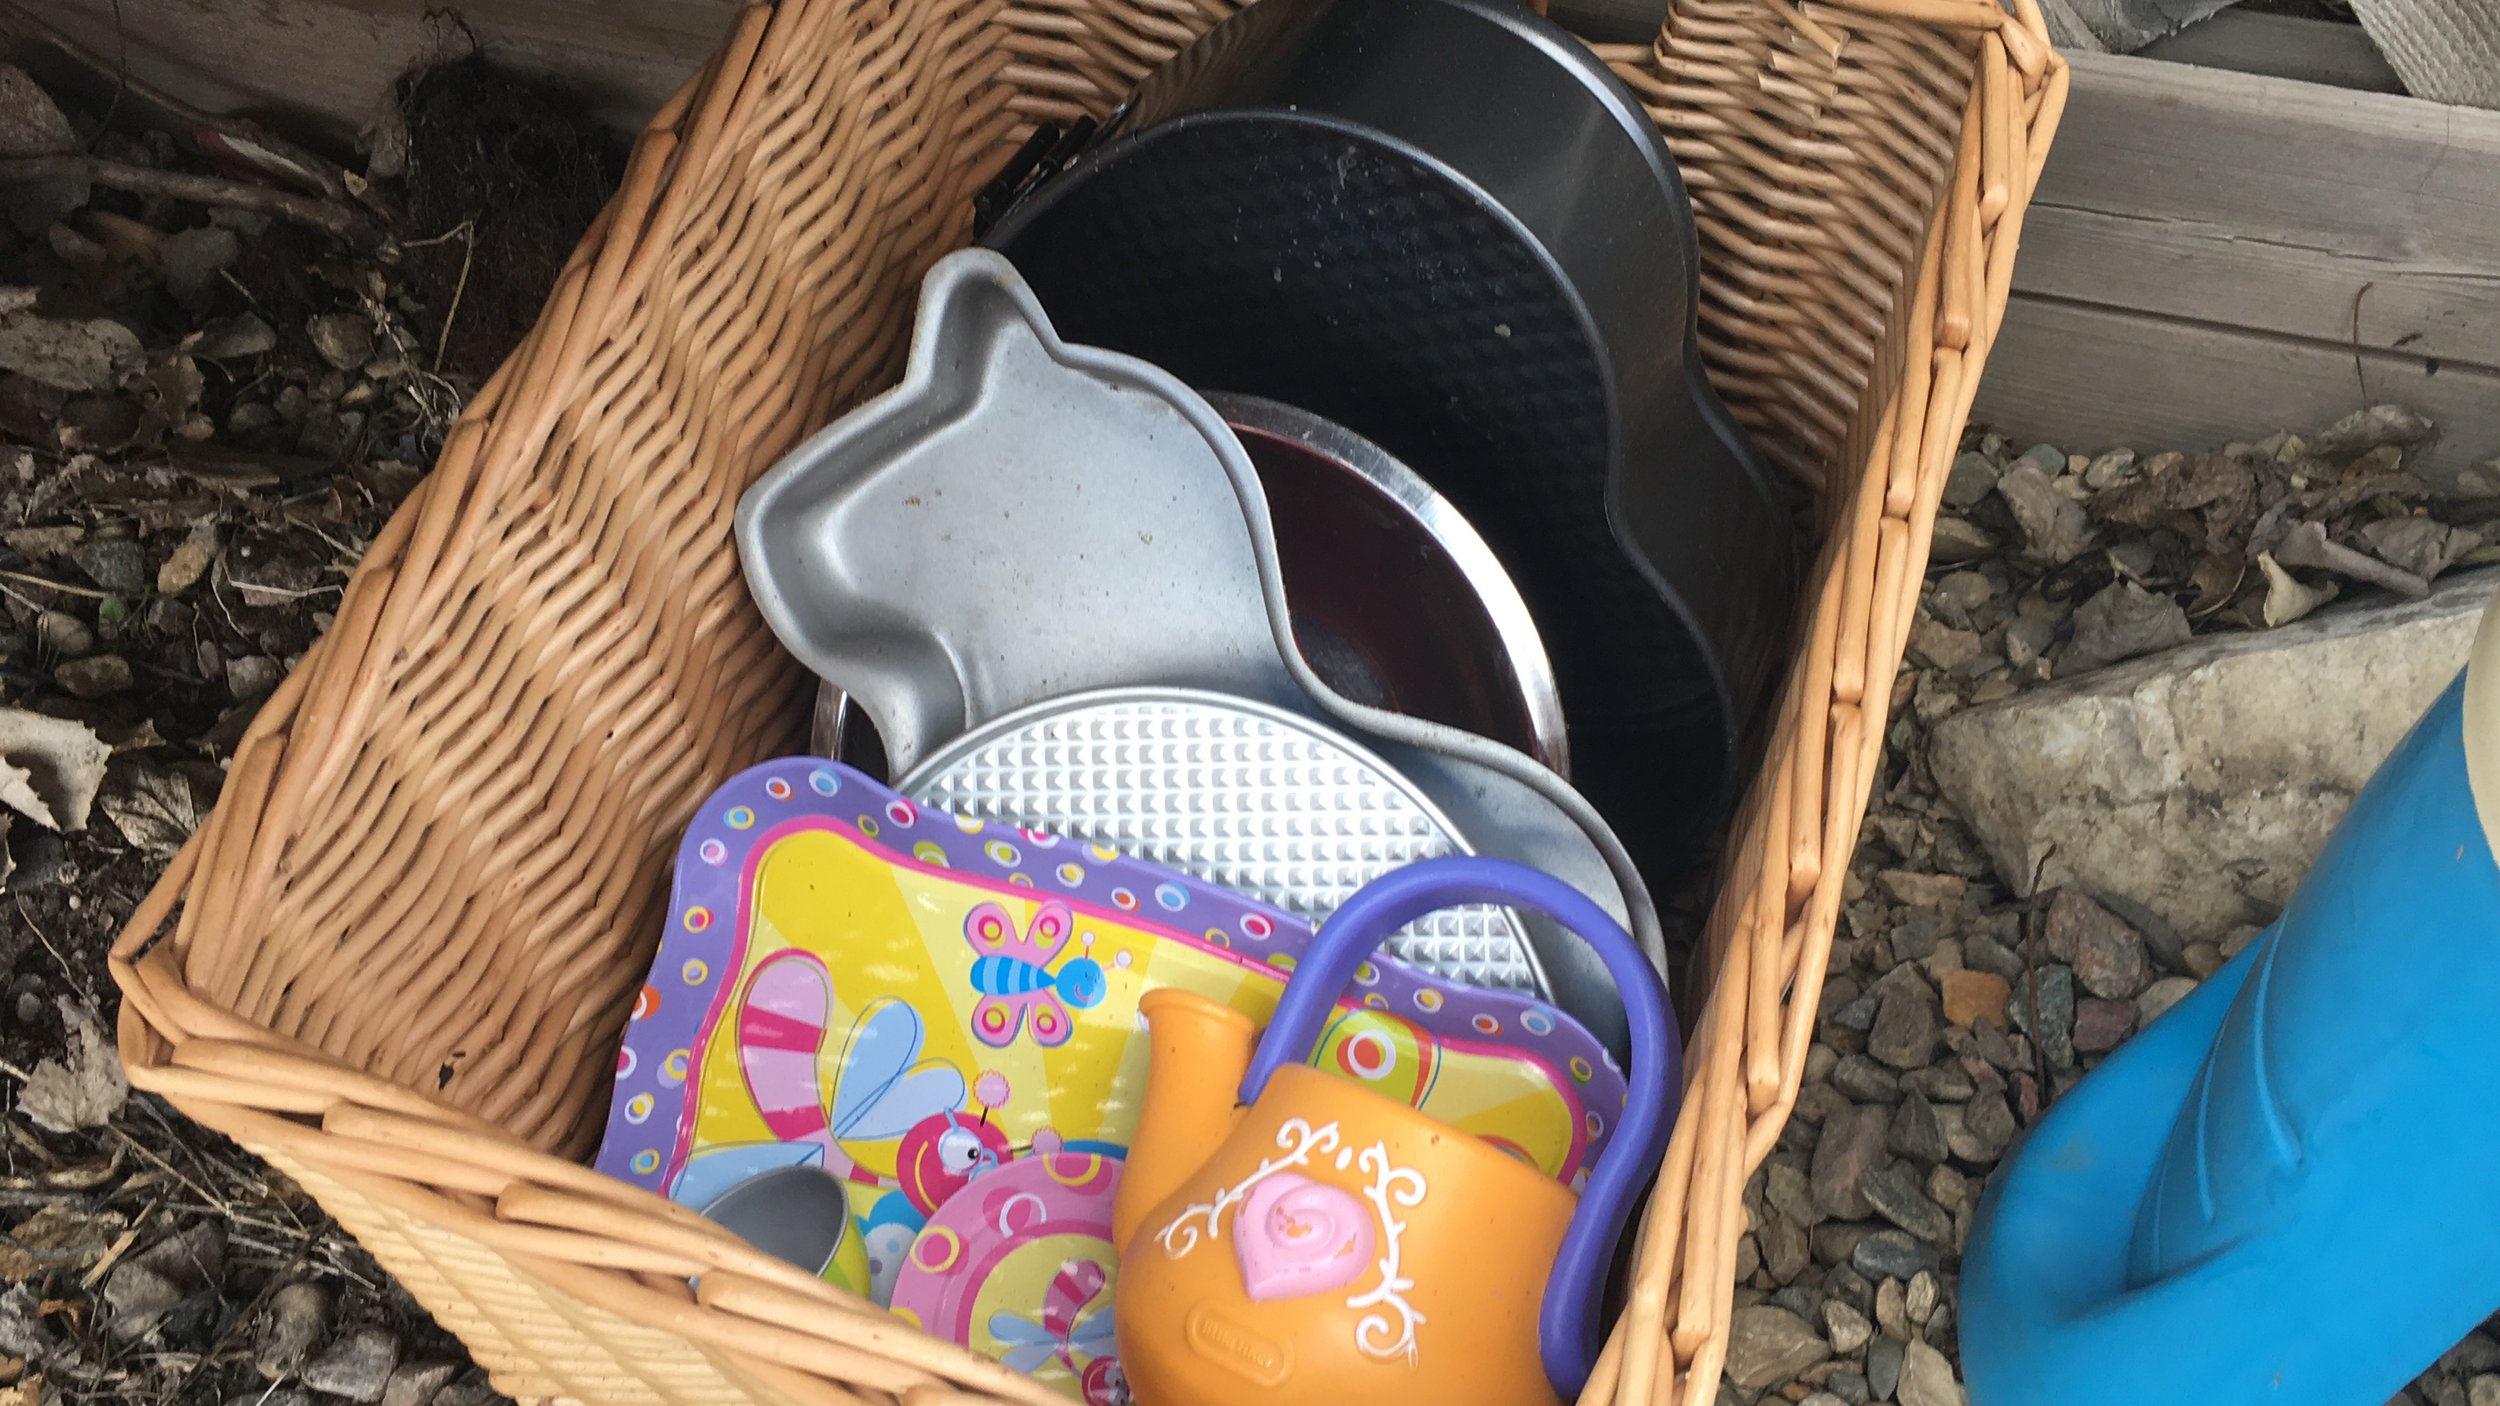
- old kitchen baking pans, cookie cutters, platters, bowls, etc
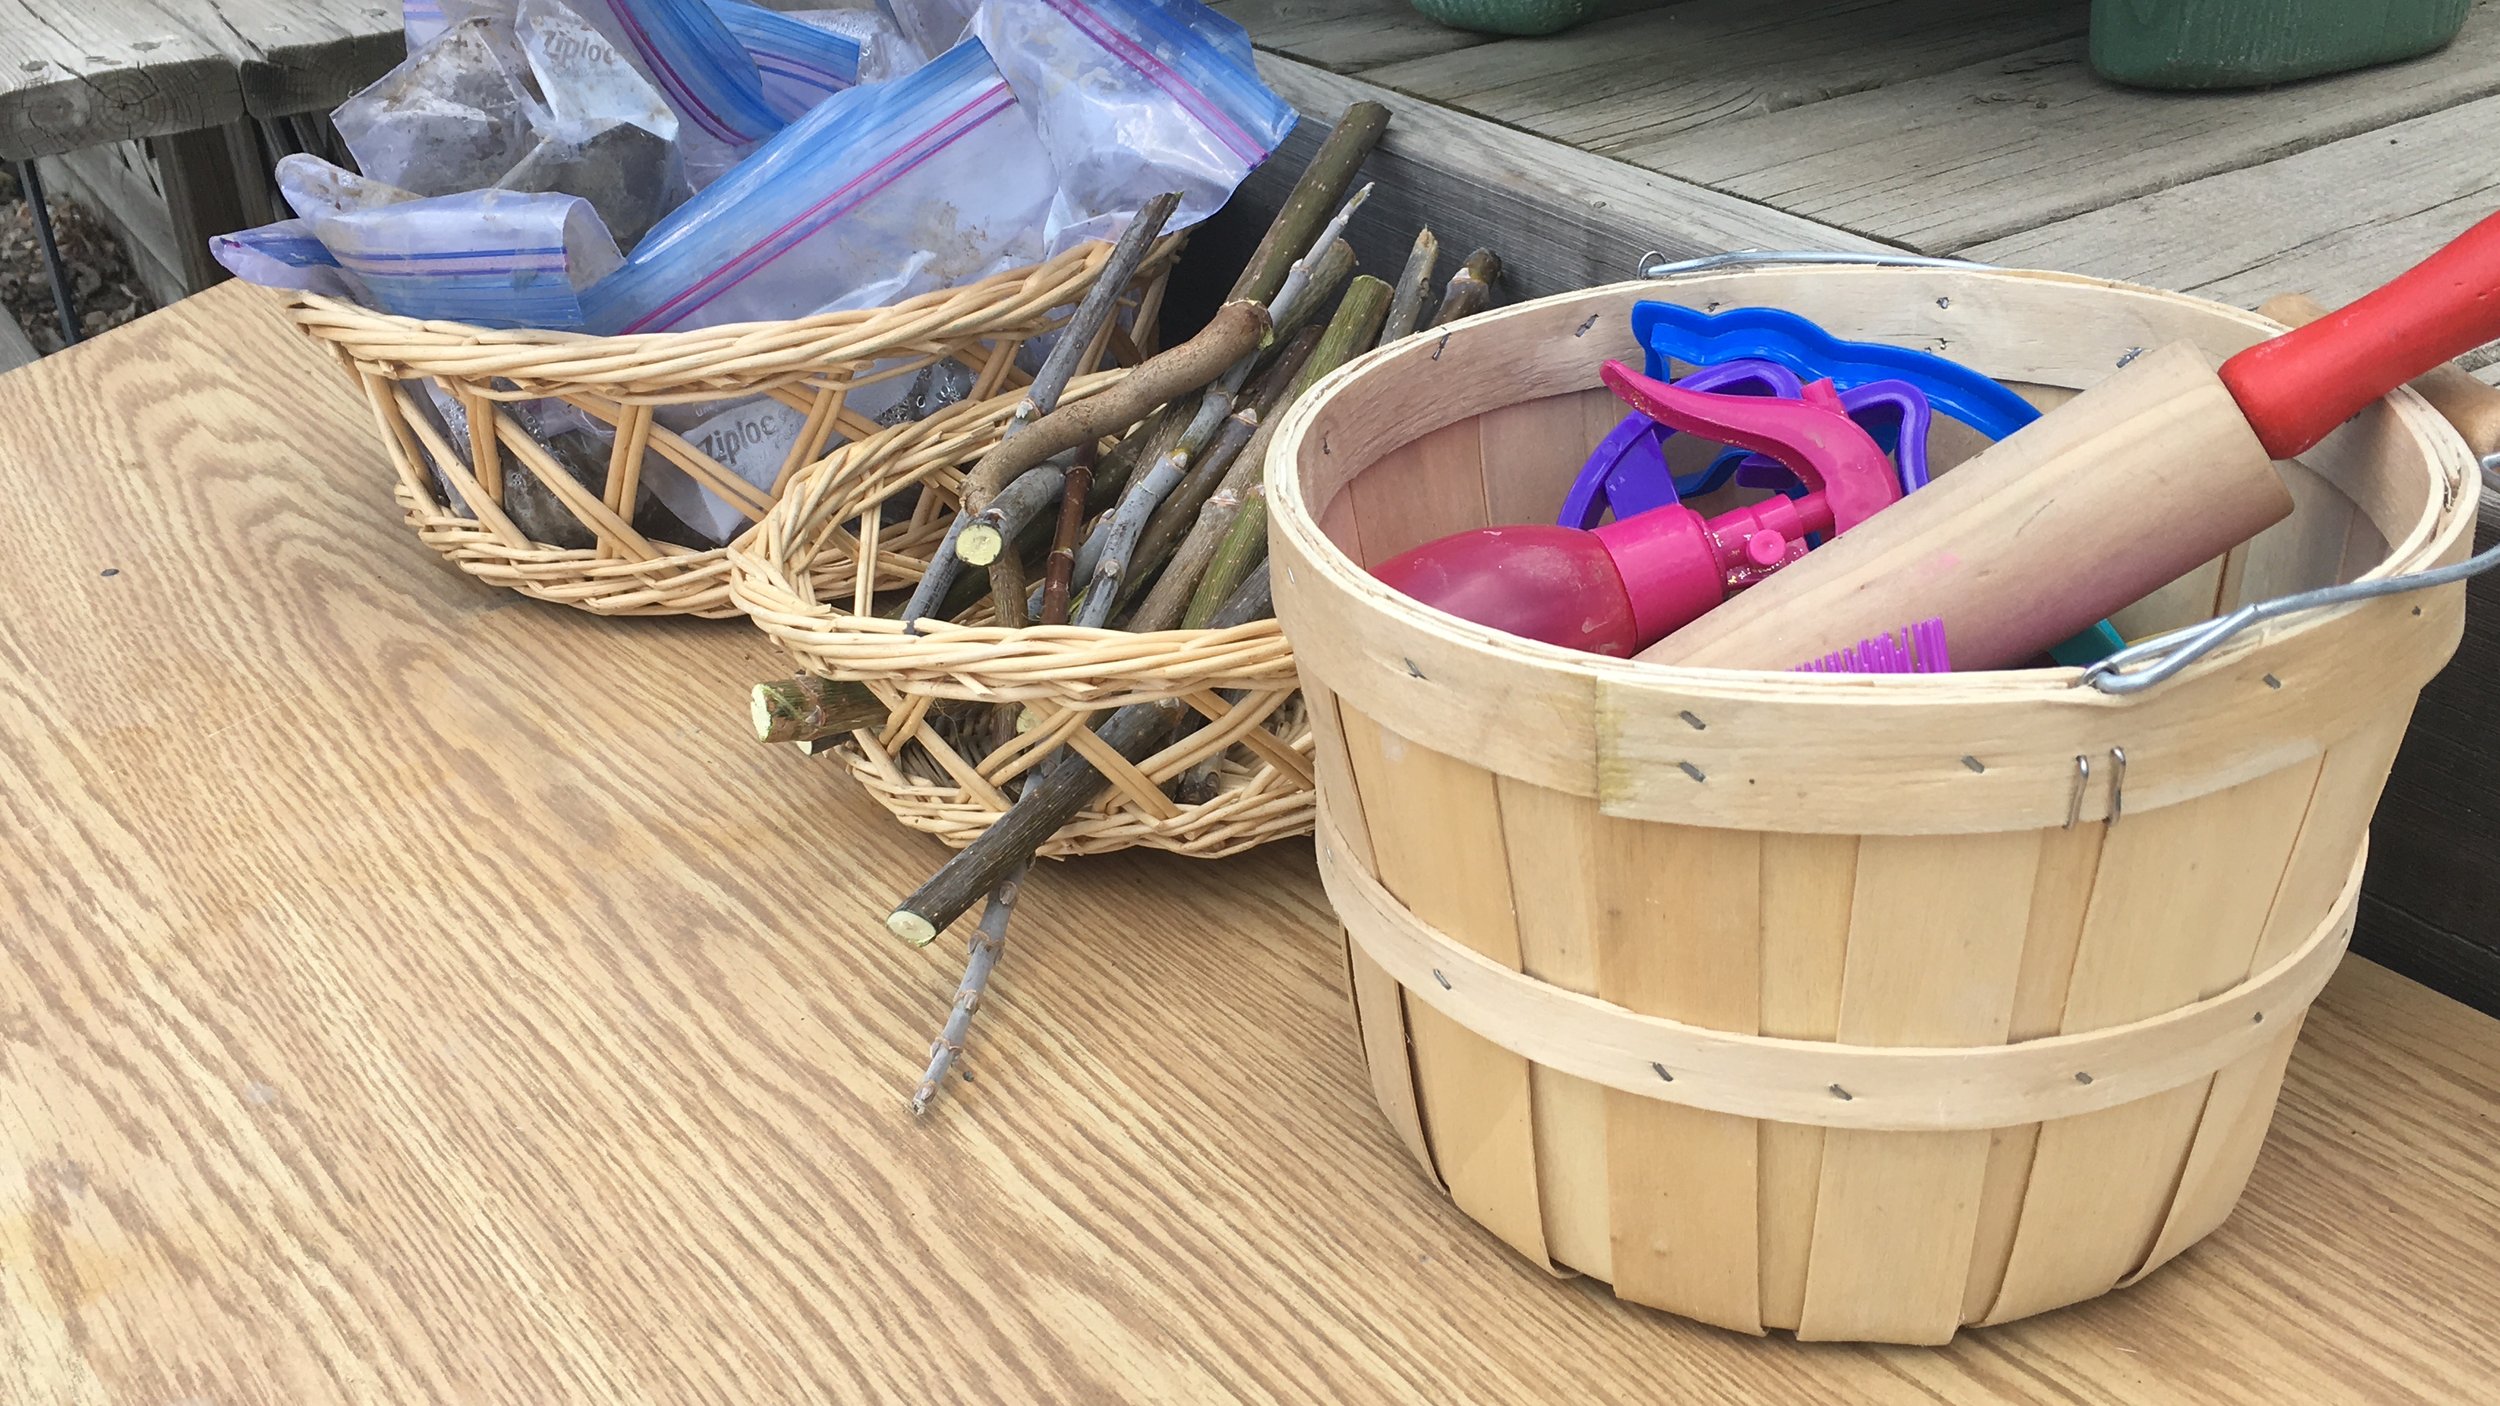
- sticks, rocks, leaves
- other clay building tools: rolling pin, spray bottle, imprint tools; hair brush, pinecones, seashells, Duplo lego, rope, lace, nuts, bolts, etc
- a table
- chair or stool of some kind
- baskets to store items in
- water table
- watering can
- cheesecloth
- ziplock bags for any clay you find in your yard
Related Post: Setting Up A Clay Basket for Clay Time
 Once you have gathered your items, find a place to set up your mud kitchen in your yard, possibly near your deck, or close proximity to a sandbox or outdoor play space. It has taken us a few weeks to slowly create the space, and depending on what you start with, take your time.The best time to start:You can start anytime you are ready, however, while going through your garage with spring cleaning could be a great time, because you may just find things you can use, but have either forgotten about or have ready to donate! Like those extra pans or cookie cutters, the kids haven't used in forever, etc. Repurpose those items here, before sending them off to donate!
Find a place in your yard, close to dirt, the sandpit, or shade.
Choosing the right spot is up to you and your yard design, so the sky is the limit and everyone's space is different. You may move it around the yard a few times (like I know I will) as you find what works best for you and your kids.
Have fun, and let them get messy!
Once you have your items all gathered your table set, and possible water table close at hand, its time to get the kids in to play. I started playing with the mud kitchen as well!
The Products We Are Using in Our Mud Kitchen:
Thanks for reading today, I hope you were able to find some inspiration for setting up an outdoor art space for your kids, with a mud kitchen! On Monday, I will be sharing our first clay craft made with our Mud Kitchen! Stay tuned for that post + YouTube Video.[convertkit form=914509]
Do you have an outdoor learning space for your kids?
Til next time, have fun with scissors and glue, and mud too!Alexandra
If you enjoyed this post, you may also like one of these:
10 Earth Day Activities For Kids
Earth Day Garland – Free Learning Pack for Kids!
DIY Floating Scribble Stick Hanger for Your Homeschool Room


